30 Jan 2024
•
3 min read
How to distribute iOS IPA builds.
Need to distribute your signed iOS IPA builds? We’ve got you covered.
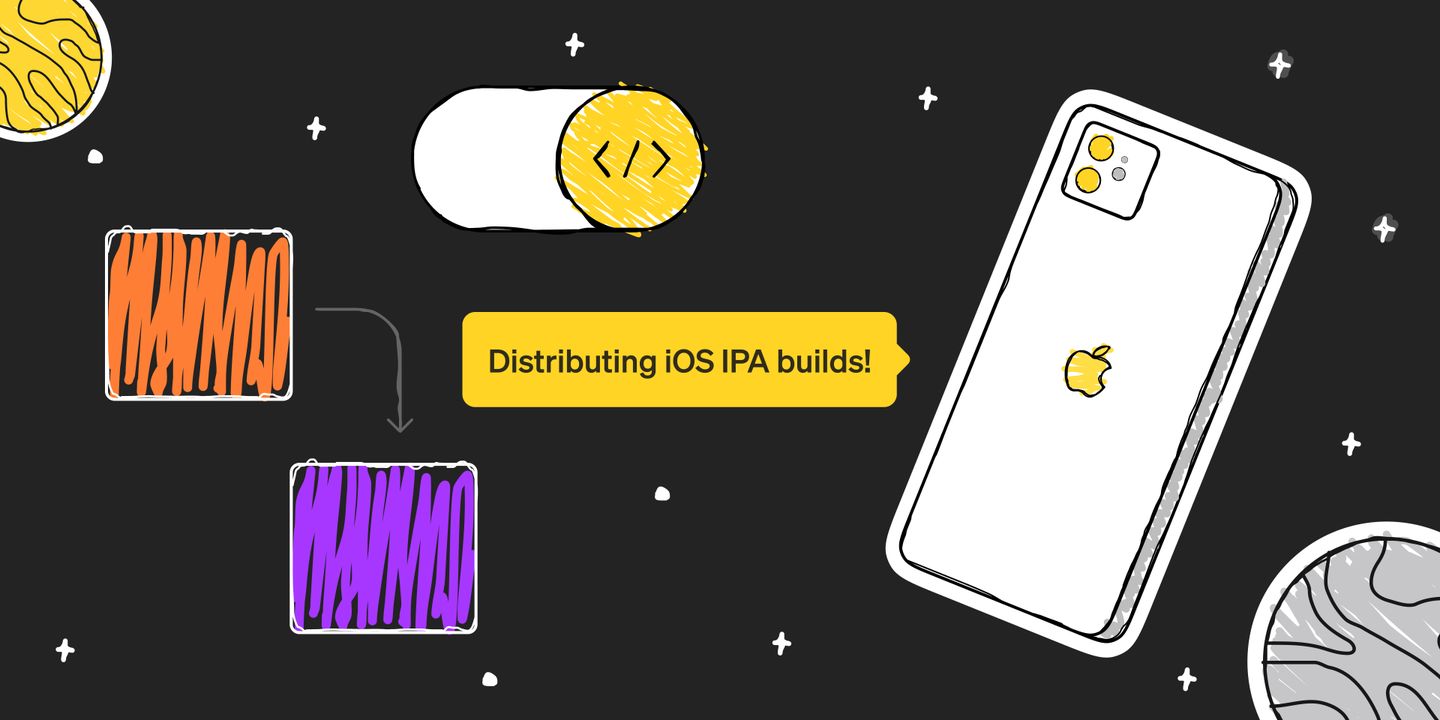
In this post, we will guide you on how to distribute and install non-market iOS IPA applications over the air (OTA) using a simple, self-hosted server. This method does not require TestFlight, the official App Store or tools like Expo, making it a great solution for internal builds and testing.
Why not use Expo you might ask? Expo is an excellent platform, and we do use it a lot, but sometimes you just want to distribute an app without going through it. This might be the case for many reasons from testing unreviewed code or to avoid necessary costs/flooding the queue system. After all, their pricing is quite steep, currently, they charge $200/month per concurrency slot plus up to 4$ per build (depending on the size, usually 2$).
To solve this, we created a project to help anyone distribute their apps via an internal server: ios-app-distribution-server. Let's jump into it and show how it works!
Prerequisites
An iOS
.ipaapp build signed for your device (that should already have the development mode activated).Docker installed on your machine.
1. Run the Server
First, we need to run the server using Docker. Open your terminal and run the following command:
docker run \
	-p 8000:8000 \
	-v ./uploads:/uploads \
	ghcr.io/significa/app-distribution-server
This command will start the server and expose it on port 8000. You can deploy this image to your own server and put it behind a custom domain. This way you could distribute apps to users outside your network. For now, we will just use your internal IP. To do that retrieve your internal ip with ifconfig on Linux and Mac, or on Windows with ipconfig.
2. Upload Your IPA App Build
Access http://YOUR_IP_OR_HOSTNAME:8000/docs replacing YOUR_IP_OR_HOSTNAME with your internal IP or public hostname accessible from your iOS device.

Click the lock in the upper right corner and authenticate using the default token secret or the one you have configured in the UPLOADS_SECRET_AUTH_TOKEN env var.
Select the IPA build file you wish to distribute using the file picker.
Click "Execute" and assuming everything went smoothly it will return a link to the installation page.
3. Access the Installation Page
Open the link returned by the previous command in a web browser. You will see a minimalistic installation page with a QR code.
4. Install the App
Scan the QR code with an iOS device. This will prompt the device to install the app.
And that's it! You have successfully distributed and installed a non-market iOS IPA application over the air using a simple, self-hosted server.
Next steps
Uploading via a command
Now, you probably want to automate the process of creating an installation page. To do this, upload your IPA build with the following command:
curl -X "POST" \
    "http://YOUR_IP_OR_HOSTNAME:8000/upload" \
    -H "Accept: application/json" \
    -H "X-Auth-Token: secret" \
    -H "Content-Type: multipart/form-data" \
    -F "app_file=@your-app-build.ipa"
Replace your-app-build.ipa with the path to your .ipa file.
This will return a link like: http://YOUR_IP_OR_HOSTNAME:8000/get/f641d14d-283a-40e3-9abc-1b441d74f36f with an installation page.
Got android APKs?
We have got you covered, since version 2 the project also accepts APKs for Android build. This allows you to have a centralised file hosting for distributing cross platform applications.
Using S3 for file storage
Create a S3 bucket (private: no public access).
Create an IAM user with the following permissions (ex: inline):
{
    "Version": "2012-10-17",
    "Statement": [
        {
            "Sid": "VisualEditor0",
            "Effect": "Allow",
            "Action": [
                "s3:PutObject",
                "s3:GetObject",
                "s3:ListBucket"
            ],
            "Resource": [
                "arn:aws:s3:::YOUR_BUCKET_NAME",
                "arn:aws:s3:::YOUR_BUCKET_NAME/*"
            ]
        }
    ]
}
Create access keys for your IAM user.
Configure the IPA server environment variables:
Change your authorization secret
Remember to change the UPLOADS_SECRET_AUTH_TOKEN in a production environment for security reasons. Otherwise anyone is able to upload files into your server.
That's it! We hope this is useful.
For more details, refer to the project's documentation.
Francisco Marques
CTO
Francisco is the CTO at Significa but more importantly, he’s our office keeper. The Hagrid of Torrinha 154. He always keeps a hammer and a handful of nails by his desk, just in case.
We build and launch functional digital products.
Related articles
Significa
Team
8 May 2026
•
4 min read
Julieta Frade
Front-end Developer